STEP 1
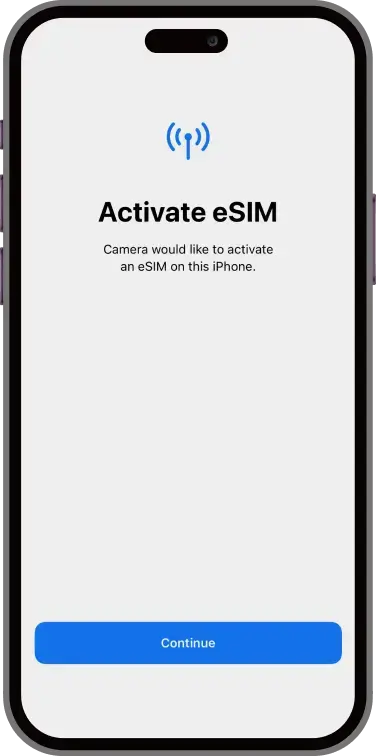
Scan the QR code with the camera on your phone. You will be greeted with the Activate e-SIM message (see image). Click Continue.
This scan can take a couple of minutes so please be patient.
IF YOU CAN NOT SCAN THE QR BECAUSE IMAGE IS IN YOUR PHOTOS Go to Settings > Mobile Service > Add eSIM
Manual configuration details can be found underneath the QR code on your email. Or alternatively ask your supplier for the manual details. If this email is on the device you wish to install in, you can simply click the link provided
STEP 2
You should see the messages at the bottom of the screen change from, “Activating Sim Card” to “Connecting to Network” to “Done”
STEP 3
Once the e-SIM has activated, click Done and your handset will then go through the settings options for you to optimise the usage of your e-SIM.
The following options will be presented to you.
• Sim Choice for Phone Calls
• Sim Choice for iMessage & FaceTime
• Sim Choice for Data
See Step 4,5 & 6 for how to set up the above
STEP 4
Sim Choice for Phone Calls. To ensure you still receive phone calls on your existing number, Select your original primary line.
STEP 5
Sim choice for iMessage & Face Time. To ensure you still receive iMessages from your existing mobile number. Select your original primary line for iMessage.
STEP 6
Sim choice for Data. To ensure that you are using your new shiny e-SIM for all your data needs, select the e-SIM for your Default Data.
If you do not wish to roam with your existing sim card, ensure that you DO NOT select “Allow mobile data switching”
STEP 7
Congratulations Your e-SIM us now set up and ready to use.
Should you not wish to use your e-SIM right now for data and plan to use it later, Simply go to Settings>Mobile Services>Mobile Data
Here you can switch between your lines for Data. Remember to switch it back to your e-SIM though once you wish to start using it.
ALSO
When you wish to use your e-SIM please also ensure that roaming is switched on.
Go to Settings > Mobile Service > Select your e-SIM, scroll down and you will see Data Roaming, Switch this to ON